Showing posts with label Project Life Stamps. Show all posts

Thursday, October 13, 2016

Travel/Trip Planner - By the Shore DSP


Hello everyone!

I recently had a class at Scrapbook Essentials BC, where we created a Christmas planner. I always mention different uses for a planner besides for Christmas. And when I mentioned a Travel or Trip planner, I knew I had to make one using the "By The Shore" DSP and share with my Stampin' Up Customers and friends. Because this planner is for planning a trip, I had to use a retired stamp set. My apologies if you want to order it.

There are a lot of photos showing this planner, so I will not have something to write with each photo, just to keep the post from getting too long.


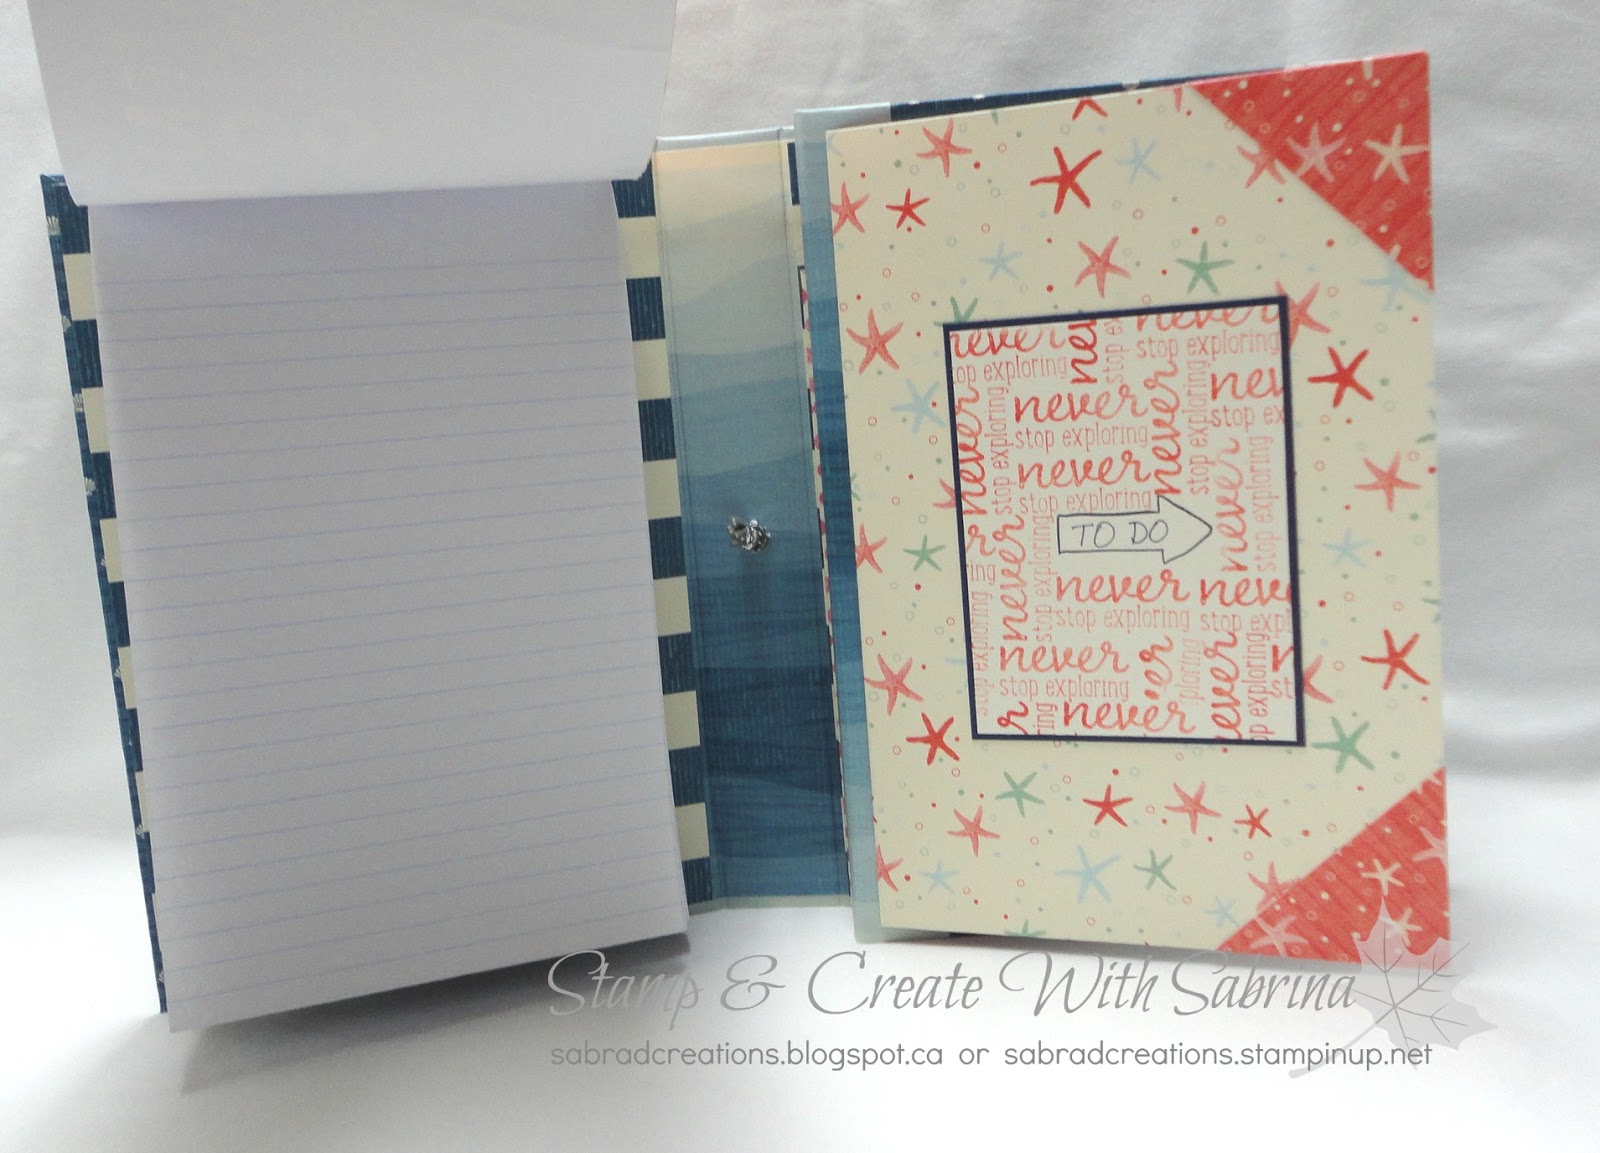
When first opened, you find a note pad on the left, and a page flap on the right.


The page flap opened. This is where I would place a trip planning check list.


Flip the next section to the right to reveal pockets containing tags and folders.


Close up for the 3 x 4 card I created with the retired Project Life "Let's Get Away" stamp set.


Another 3 x 4 card where I stamped in the center, and using a Stampin' Write Marker, hand wrote my background text.


You see the folder taken out of their pockets, here. I would attach in side one a planned itinerary, and in another a list of places you want to visit.


On the tags pulled below, I would attach on one side a calendar that you can write on (day, week, or month depending how long your trip is), and on the other side a "To Do" List for planning what is on the calendar side.


When you fold open the last panel of the planner, it will look like this, revealing a receipt & ticket stub envelope.


Close up of the stamped 3 x 4 card.


Close up of the 'receipt & ticket stub' envelope.

Close up of the 3 x 4 card.


Envelope flap opened.


The planner all closed up again.


You know that I created this for a Christmas planner, and adapted it here as a Travel or Trip planner, but you can also adapt it as a Wedding planner, a Family Reunion planner, and so on. You could also use this as a photo folio rather than a planner!

If you are wondering about the planner pages to print and attach on the pages, folders & tags, just search fro free printable planners for Christmas, Wedding, Travel, Trip, Family Reunion, etc. Or, you can create your own! You will need pages for the smaller planner, not the full sized 8 1/2 x 11.

If you are interested in making your own version of this, I do have the instructions for sale. Because the file is rather large, I can not send it as an attachment in an email and can only send you a link to the PDF instructions to download and save, through Adobe PDF Services. So that is what you get when you order the instructions to this project, just a link.


Instruction Options
If you have any questions, I'd be happy to answer them. Just email me.


Thank you for stopping by today, and hope you are inspired to create some lovely Christmas gifts like this project.


Happy creating!


October 1 through 31 , you can buy three packages of Designer Series Paper and get one free! That’s great news since everyone can use more Designer Series Paper. This sale includes Designer Series Paper from both the annual catalog and the recently released holiday catalog (not including Specialty Designer Series Paper or Designer Series Paper Stacks).

Take advantage of these specials for all those Christmas projects you are planning to work on, or gift some lovely supplies to family or friends that love to craft and create!


Saturday, February 20, 2016

Gate Fold Flip Album - All In Neutrals

I've been working on several albums of late, and am enjoying the projects. The one I'm showing you today was a bit of an experiment using only neutral colours in Basic Gray, Sarah Sand, Crumb Cake, Very Vanilla, and a black cover using a non-Stampin' Up! product called Kraft-Tex. Its a paper/fabric which doesn't tear or crack with use, as cardstock can. That's why I used this product. I did learn a few things in using this product, and will have to adjust thow I use it for an album cover or spine.

Any way, let's get to having a look at the album, shall we. As you can see I left the cover plain with no embellishment, just the ribbon closure.

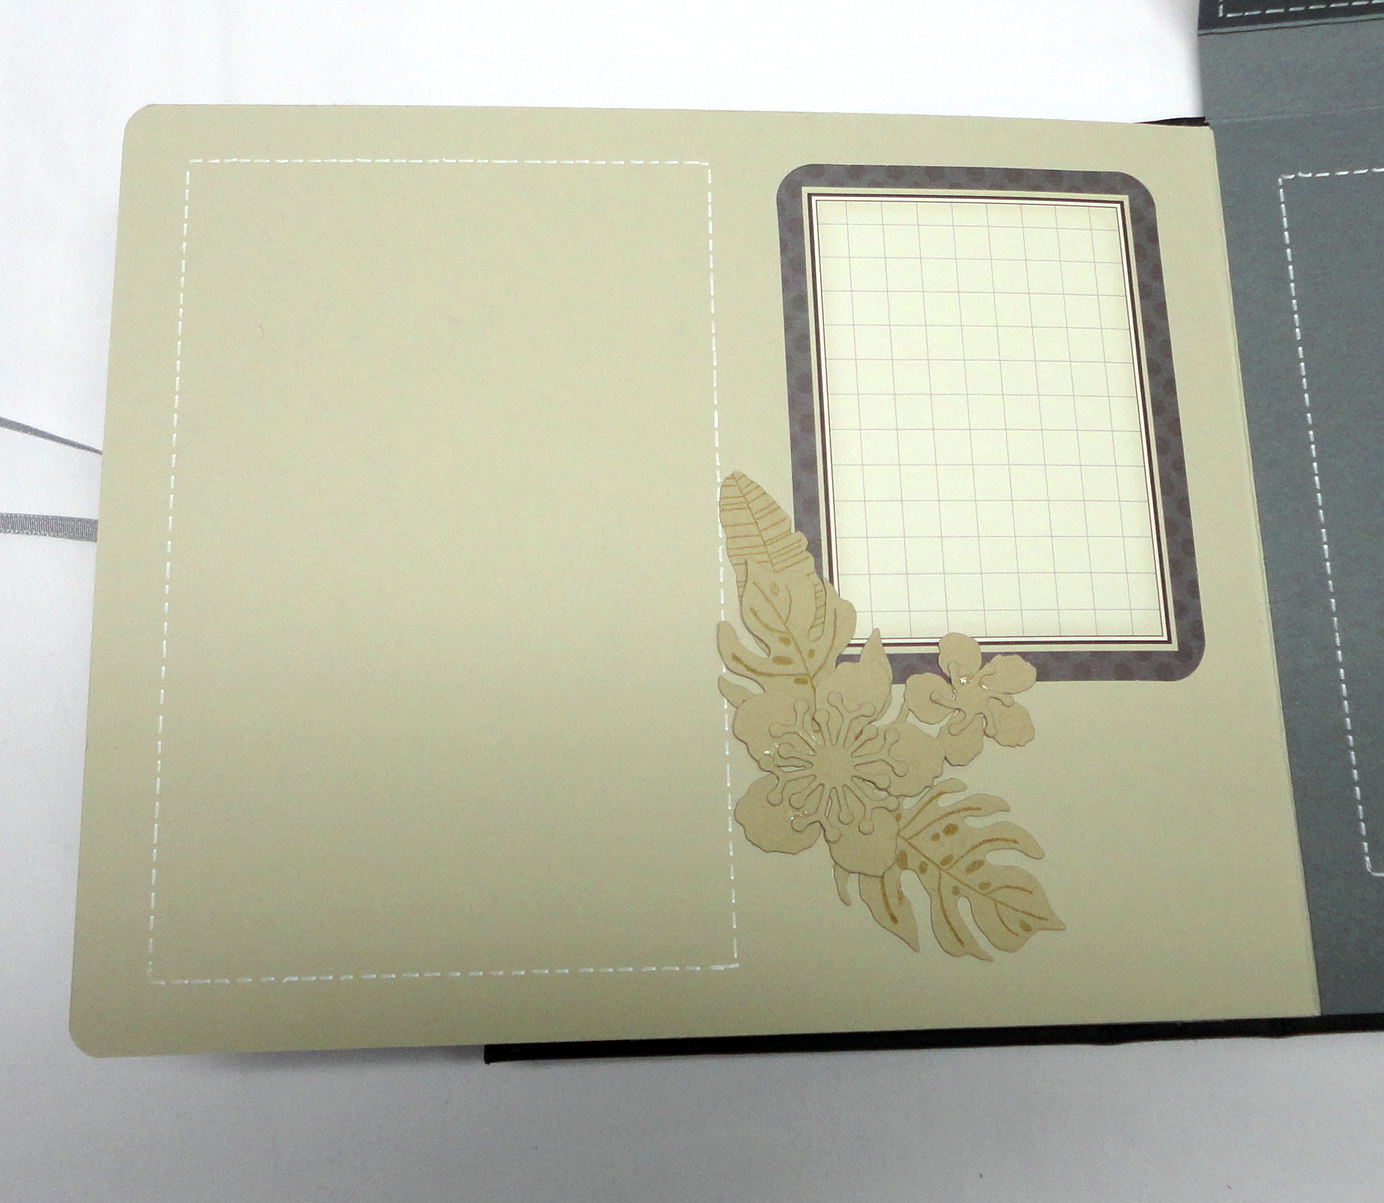
When the album is opened, this is what you see.


You will notice the 'Botanical Builder' dies were used in the album. Everything was cut from Crumb Cake. I love how it looks! Who'd have thought that it would look great in Crumb Cake of all things! But then it is a fabulous die set.


When you lift the top flap you see this. Oh, I should mention that I used another couple non-Stampin' Up! products through out the album, some older Project Life (pre-Stampin' Up!) cards because they coordinated with the colours of the album. Some of these I cut down or punched. The others are some chipboard laser cuts that I had purchased a few years ago form the store where I used to teach classes at.

The square on the upper right corner I created with several different Stampin' Up! Project Life stamp sets.


Close up - see the subtle Versamark text stamping...


Close up of the stamped square (sorry it's not real clear).


Another gate fold section to the album.


When you open that up, there is a place on the left for a larger phtoto (left), a place for a 4 x 4 photo to slide into a frame, and a booklet that opens up when you untie the twine.


Close up


Close up


When you open this booklet you can either journal inside or place additional photos.


Back to the center, when you open up the larger booklet, there are pages with sections for journaling, and places to make up a mini layout of photos, or use one very large page sized photo.


Turn the page...


Turn the page again...


Then when you flip the page that the book is attached to, you find this. There's a place for a 5 x 7 photo. Oh, I guess I should have mentioned that all these Botanical Builder parts are attached so that the photo can slide in behind them, have a part of the floral arrangement over the corners of the photos.


Then when you flip that last flap in the album, there is room for another 5 x 7 or and arrangement of smaller photos within the designated areas.


Close up for detail.


Last close up.


I wish the photos showed more what the album really looks like, because it looks much better in real life. I hope that you enjoyed seeing this any way, and are inspired for the next album or scrapbook page you create.

 All these albums I'm currently making will all be for sale at future classes, crops, and markets. 

If you are interested in buying this album before I get it out in the public, don't hesitate to contact me (sabradcreations@gmail.com).


Should you are interested in knowing more about Kraft-Tex, here is a video I found. It's great stuff with many applications and uses.


Thank you for stopping by today, and happy creating!


Sale-A-Bration! Remember that for every $60 you spend on products from the brand-new Occasions catalogue or Annual Catalogue, you can choose a FREE exclusive Sale-A-Bration product!


PAPER PUMPKIN SALE!

What could possibly make Sale-A-Bration even better? Getting Paper Pumpkin involved of course! Stampin' Up!'s three month PAPER PUMPKIN SALE! January 5th through March 31. A great deal with a surprise kit at your door every month!

3-Month Prepaid Subscription (137859) $$74.85 $69
Save on a 3-month prepaid subscription and instantly qualify for a FREE Sale-A-Bration item!
12-Month Prepaid Subscription (137861) $275.40
Take it to the next level with a 12-month prepaid subscription. Save $24 a year with the everyday awesome price, earn Stampin' Rewards, and instantly qualify for 4 FREE Sale-A-Bration items!

There have been some pretty fantastic Paper Pumpkin kits over this year. Don't miss out on the fun and your chance to save on a 3-month Paper Pumpkin subscription and get a FREE Sale-A-Bration item until March 31st. Contact me today! (sabradcreations@gmail.com)