I have had many requests on how to make this cute box for 10 to 15, 3 x 3 cards. Thank you everyone for the wonderful comments you've made.
So here are the instructions to making this box.

Tip:
I cut to size, score, and cut to shape several of these so that when
I need a box I can grab one and
put
it together.
Have
fun making your boxes!
You
may use either 8 1/2” x 11” or 12” x 12” cardstock. The
advantage to 12” x 12” is that you will have a more
substancial tab for assembly, but the other works fine.
|
|
1)
|
Cut
from 8 1/2” x 11” a piece that is 8 1/8” x 11”
Cut
from a 12” x 12” a piece that is 8 1/8” x 11 1/4”
|
2)
 |
With
the length across the top score @ 2”, 5 3/8”,
7
3/8”, & 10 3/4”
This
is the same for both sizes.
|
3)
 |
Rotate,
so that the shorter measurement is across the top, and the narrow
tab section is at the bottom.
Score
@ 2”, 5 3/8”, & 7 3/8”
|
4)
 |
With
your scissors, cut along scorelines so your box will look like
this. Be sure that the tab is on the back side of the box with the
lid right next to it.
I
like to cut on each side of the score line, so that you have a
narrow space between folding parts as you see in the photo.
|
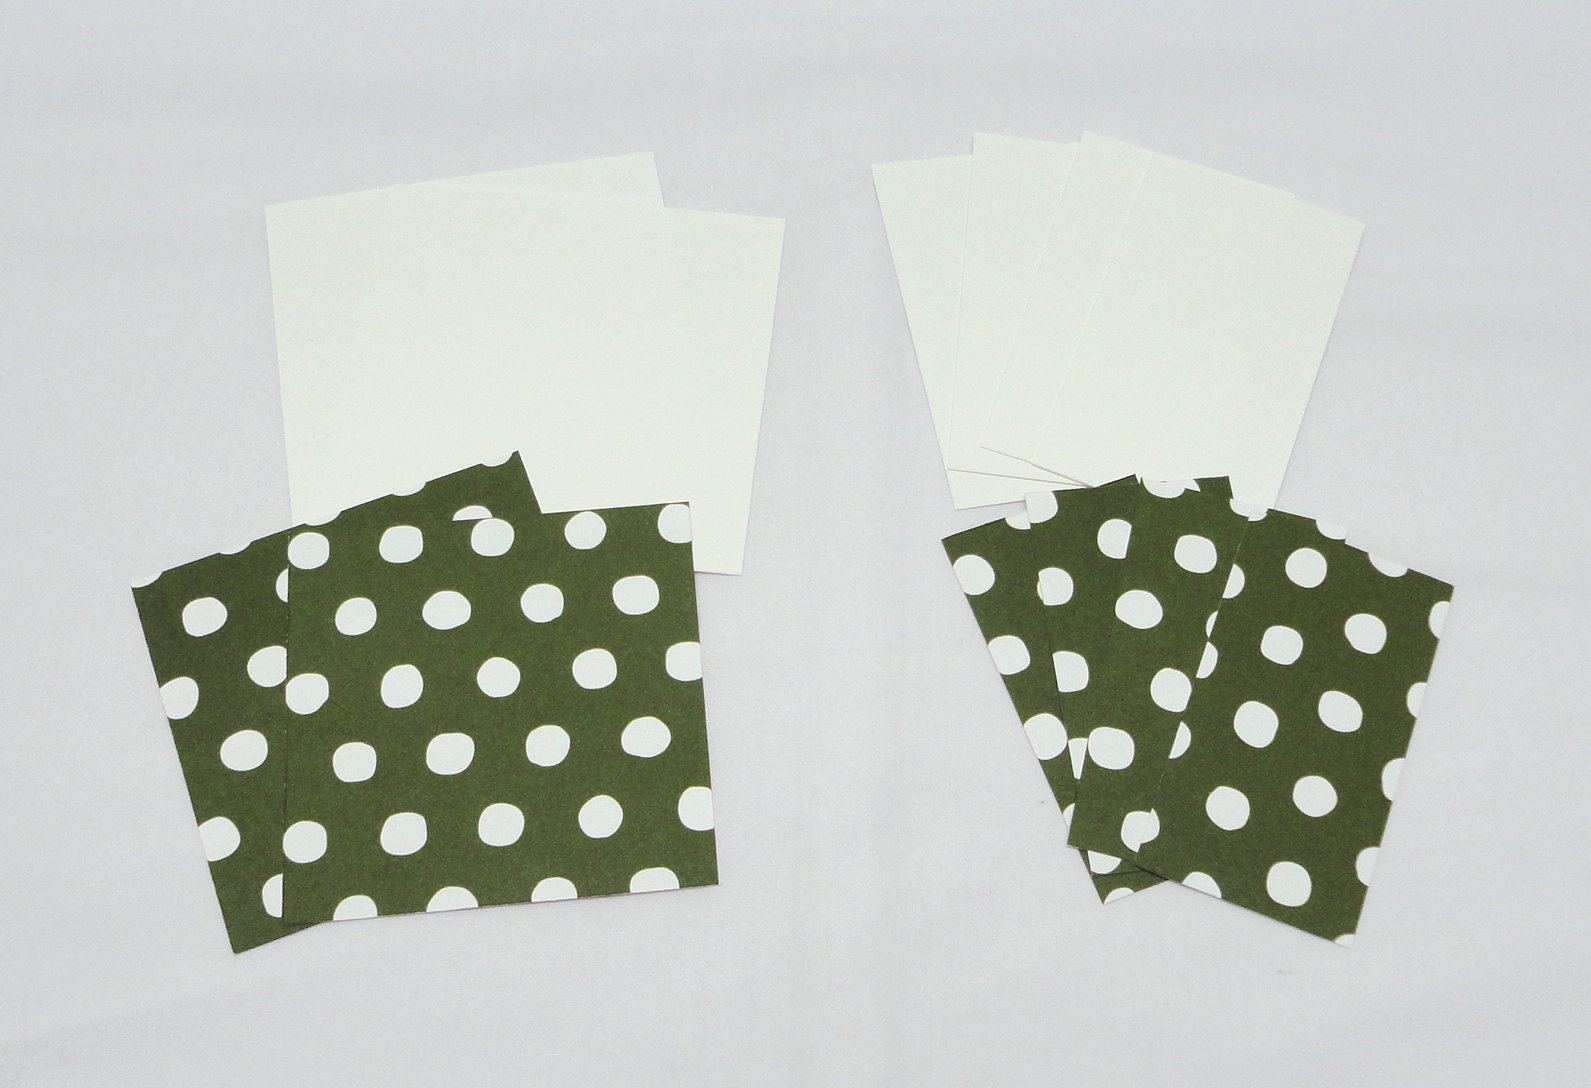
5)
 |
Here
you can see the tab size difference depending on what size cardstock you used.
|
6)
 |
With
your paper trimmer, cut off 3/8” off of the bottom two smaller
sections
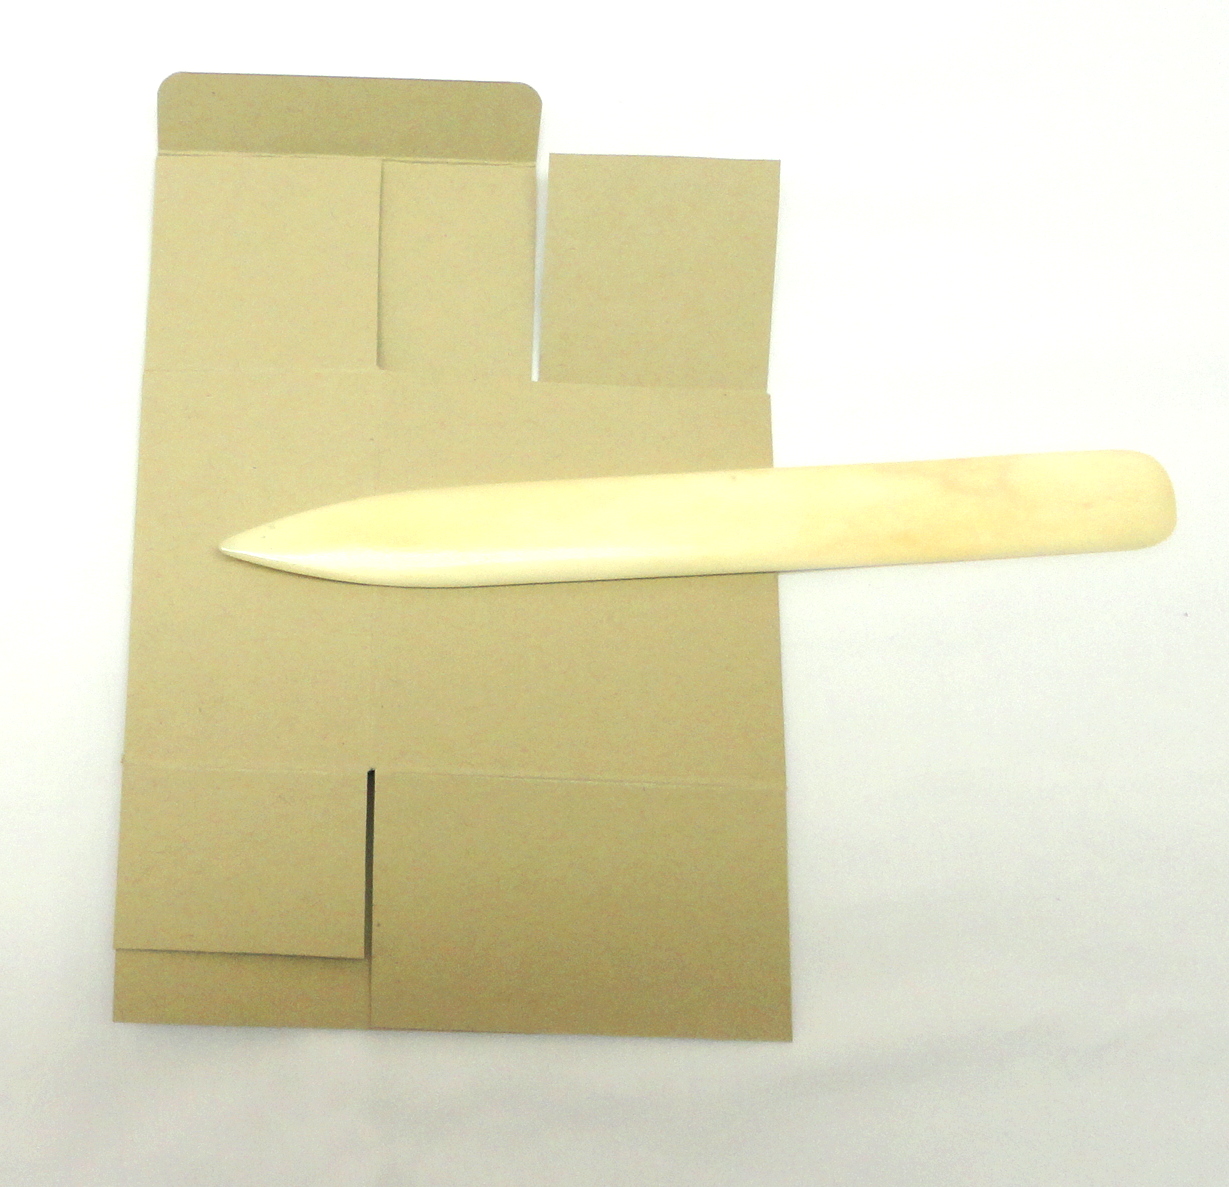
With
your bone folder crease all the score lines
|
7)
 |
With
the outside of the box facing up, attach your Tear & Tape
adhesive (or glue if you prefer) onto the tab as indicated in the
photo
|
8)
 |
With
the inside of the box facing up, attach your Tear & Tape
adhesive (or glue if you prefer) onto the tabs as indicated in the
photo
The
larger tab is on the front of the box and later will be the last
one to be attached.
|
9)
 |
The
first part is to attach the side panel to the back panel's tab.
This is 1/4” if you used 8 1/2” x 11” cardstock, or 1/2”
if you used the 12” x 12” cardstock.
|
10)
 |
The
bottom of your box will look like this. (I have the top flap
folded toward the outside with my bone folder as weight)
|
11)
 |
Take
the back flap down, and attach one of the smaller flaps to it.
|
12)
 |
Now
attach the other flap.
|
13)
 |
Lastly,
attach the remaining flap from the front of the box.
|
14)
 |
Your
box is now complete. Take your bone folder and rub the inside
bottom, to be sure of the adhesive tape's maximum adhesive
qualities, or the spreading of the glue.
|
15)
 |
You
can embellish your box however you please, but these are the
measurements I used for colour cardstock, and DSP.
Cardstock
Matting : 2 @ 3 1/8” x 3 1/8”, &
4
@ 1 3/4” x 3 1/8”
DSP:
2 @ 2 7/8” x 2 7/8”, & 4 @ 1 1/2” x 2 7/8”
|
16)
 |
Adhere
the DSP onto the Cardstock
|
17)
 |
Next
mark the center on the piece that will go onto the lid.
|
18)
 |
Attach
the Tear & Tape adhesive on the underside before punching your
hole.
If
you are using wide or thick ribbon you will want to use a 1/4”
hole punch.
If
your ribbon/cord is narrower you will use your 1/8” hole punch.
|
19)
 |
Narrow
ribbon/cord will be about 7”
Wider
ribbon you will need more; about 8 or 9
|
20)
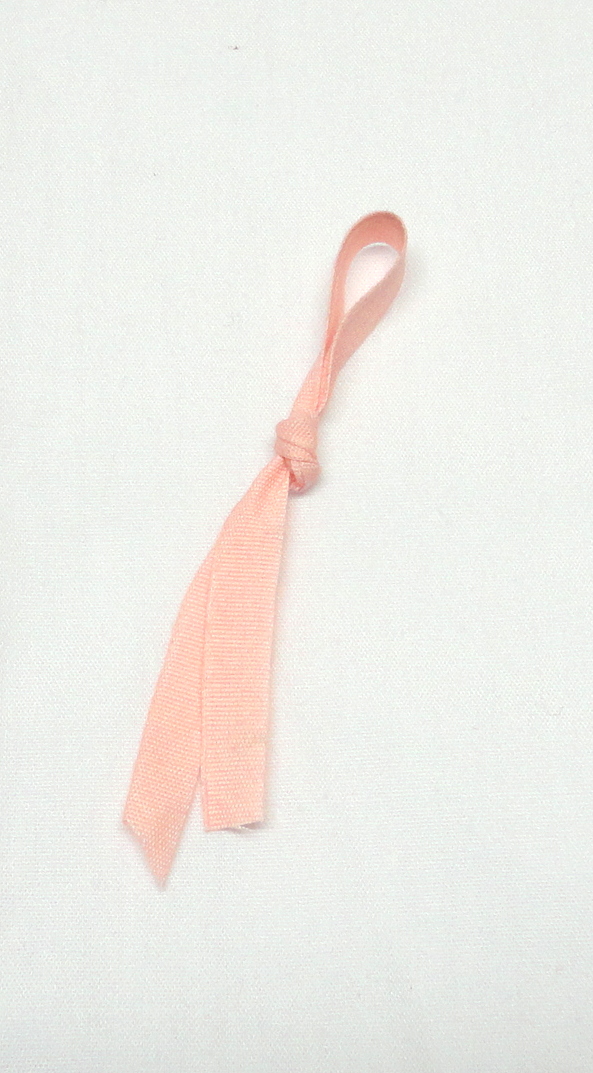 |
Loop
the ribbon and tie a knot so that you have a loop about 1” long.
For wider ribbon you may want to make it longer so that the
proportions look right.
|
21)
 |
Add
adhesive tape to the underside of the knotted loop tails.
|
22)
 |
Slip
the tails into the hole from the top...
|
23)
 |
...to
the underside.
|
24)
 |
Remove
the backing of the tape by the hole, and attach the ribbon tails
as in the photo.
|
25)
 |
Remove
remaining tape backing and attach to the top of the box, onto the
lid.
Attach
all other pieces and embellish your box.
|
These
are great gift sets to give for any occasion, or just because. And
of course a great way to use up your scraps!

Thanks again everyone!


Don't forget Sale-A-Bration! Remember that for every $60 you spend on
products from the brand-new Occasions catalogue or current Annual Catalogue, you can choose a FREE exclusive Sale-A-Bration
product!
PAPER PUMPKIN SALE!
What could possibly make Sale-A-Bration even better? Getting Paper Pumpkin involved of course! Stampin' Up!'s three month PAPER PUMPKIN SALE! January 5th through March 31. A great deal with a surprise kit at your door every month!
3-Month Prepaid Subscription (137859)$$74.85 $69
Save on a 3-month prepaid subscription and instantly qualify for a FREE Sale-A-Bration item!
12-Month Prepaid Subscription (137861) $275.40
Take it to the next level with a 12-month prepaid subscription. Save $24 a year with the everyday awesome price, earn Stampin' Rewards, and instantly qualify for 4 FREE Sale-A-Bration items!
What could possibly make Sale-A-Bration even better? Getting Paper Pumpkin involved of course! Stampin' Up!'s three month PAPER PUMPKIN SALE! January 5th through March 31. A great deal with a surprise kit at your door every month!
3-Month Prepaid Subscription (137859)
Save on a 3-month prepaid subscription and instantly qualify for a FREE Sale-A-Bration item!
12-Month Prepaid Subscription (137861) $275.40
Take it to the next level with a 12-month prepaid subscription. Save $24 a year with the everyday awesome price, earn Stampin' Rewards, and instantly qualify for 4 FREE Sale-A-Bration items!

There have been some pretty fantastic Paper Pumpkin kits over this year. Don't miss out on the fun and your chance to save on a 3-month Paper Pumpkin subscription and get a FREE Sale-A-Bration item until March 31st. Contact me today! (sabradcreations@gmail.com)


1 comment:
This is Absolutely Fabulous Sabrina, thank you so much for sharing! This looks so well organized and laid out, I cannot wait to read it word for word, understand it and make my own project! I will be sure to let you know when I've posted my own, too! I love this, and I love you for sharing! Thank you very much; your creations are Always so Beautiful! Cheers! :)
Post a Comment