Showing posts with label Valentines. Show all posts
Tuesday, February 14, 2017
Happy Valentines Day!
HAPPY VALENTINES DAY! (I almost forgot to post this!)
You will recall my previous post 'Flying Bumble Bees', well, before I made that card I had made this one. It has floating, or dancing hearts, if you will. Same card just different DSP, stamps, and dies.
Can you see the Window Sheet strips? They have hearts attached at the ends. I should have taken a better side view photo for you. But just like the bumble bee card, these hearts can dance about with just a poke or shake of the card.
The other side view...
Each little envelope has a tiny card that can be pulled out and read (love those tiny envelope dies).
Sometimes a lot of little parts can be so much fun to put together in a project.
Hope that your Valentines Day is going well for you and that you are sharing your love with all your family, and friends.
Happy creating!
Wednesday, January 18, 2017
Dream Theme International Blog Hop - Sealed With Love Bundle - Occasions 2017
Welcome from Renate's blog! Have you seen some wonderful creations so far?
I used to just love Valentines Day when the children were growing up. I would do things like tie helium Valentine balloons onto their kitchen table chairs, make a cake, arrange some fun Valentine activities, buy them cards (before I got into this line of creativity), etc. Now they are all grown up with families of their own, so I don't do all those things any more, but I do love making the cards for my blog, because it always brings back those wonderful memories.
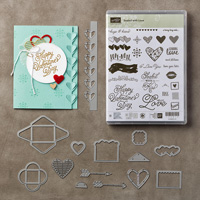
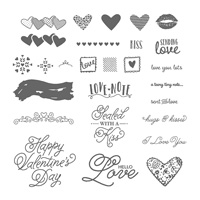
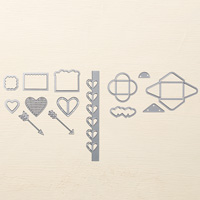
So, here is the card I am sharing with you today. I used the "Sealed With Love" Bundle in the 2017 Occasions catalogue.
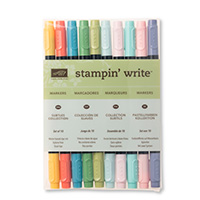
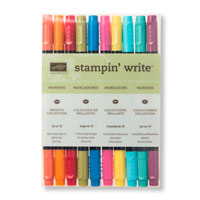
The inside of the card, I used my Stampin' Write Markers to alternate colours on the line of hearts.
This bundle is so very fun to work with! It has so many parts that lead the imagination to many wonderful and fun Valentine ideas!
If you missed the previous blog...
The next blog is to the talented Jennifer Pauli!
2. Patrice Halliday-Larsen (New Zealand)
3. Tracy May (UK)
4. Delphine Lorelli (France)
5. Amy Koenders (USA
6. Renate Ecklmayr (Austria)
7. Sabrina Radeck (Canada) ...that's me...
8. Jennifer Pauli (Germany)
9. Krista Driessen (Netherlands)
Hope you are enjoying the hop and inspiration collected along the way. Be sure to leave everyone with some love as you go from blog to blog.
Happy creating!
Sunday, January 15, 2017
Valentine Sampler Class
OK everyone, I'm back into the swing of things with a lot of catching up to do! Health, life, Christmas, and a quick trip to Calgary, AB to visit family got in the way of my regular posts and newsletters. Now with the Occasions Catalogue and Sale-A-Bration launch/open house done on Saturday, I can get back to work.
I have one class scheduled for January,and it is being posted a little too late, but we can still make a go of it if I place the class order for you and have it shipped overnight! So you can still register if you like.
Sealed With Love Valentine Sampler
Light, airy pastels
Traditional Black, White & Red
Monday, January 23 - 6:00 - 9:00pm
Tuesday, January 24 - 1:00 - 4:00pm
Tuesday, January 24 - 6:00 - 9:00pm
Wednesday, January 25 - 1:00 - 4:00pm
REGISTRATION & PAYMENT DUE – Monday, January 16, 2017
Just the Sampler- $27.00
Sampler & Stamps - $30.00 (142815 - $26.00)
Sampler & Bundle - $65.00 (144705 - $59.25)
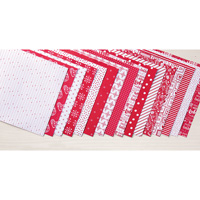
The Christmas Sampler was such a success with requests for more sampler projects! For this one we will be making cardstock frames that will already be cut and scored for you (I'll show you how to create and assembles these), stamping, and assembling the many die cuts onto the Valentine Sampler. Don't forget to watch for next month's sampler project! Choose the colour sceme you wish to create.
BRING TO CLASS – Scissors, paper trimmer, scissors, adhesive tape, liquid glue, mini-glue dots, dimensionals, non-stick craft mat, pencil & ruler & eraser, clear stamp blocks, & stamp cleaner.
Lots of fun little frames to make! You can use this idea for so many things - cards, actual frames, on boxes, etc. Below are the items used from the new 2017 Occasions Catalogue!
Happy creating!

I have one class scheduled for January,and it is being posted a little too late, but we can still make a go of it if I place the class order for you and have it shipped overnight! So you can still register if you like.
Sealed With Love Valentine Sampler
Light, airy pastels
Traditional Black, White & Red
Monday, January 23 - 6:00 - 9:00pm
Tuesday, January 24 - 1:00 - 4:00pm
Tuesday, January 24 - 6:00 - 9:00pm
Wednesday, January 25 - 1:00 - 4:00pm
REGISTRATION & PAYMENT DUE – Monday, January 16, 2017
Just the Sampler- $27.00
Sampler & Stamps - $30.00 (142815 - $26.00)
Sampler & Bundle - $65.00 (144705 - $59.25)
The Christmas Sampler was such a success with requests for more sampler projects! For this one we will be making cardstock frames that will already be cut and scored for you (I'll show you how to create and assembles these), stamping, and assembling the many die cuts onto the Valentine Sampler. Don't forget to watch for next month's sampler project! Choose the colour sceme you wish to create.
BRING TO CLASS – Scissors, paper trimmer, scissors, adhesive tape, liquid glue, mini-glue dots, dimensionals, non-stick craft mat, pencil & ruler & eraser, clear stamp blocks, & stamp cleaner.
Lots of fun little frames to make! You can use this idea for so many things - cards, actual frames, on boxes, etc. Below are the items used from the new 2017 Occasions Catalogue!
Happy creating!

Labels:
2017 Occasions Catalogue,
Home Decor,
Sampler,
Valentines
Sunday, December 27, 2015
Sneak Peek - First Sight Series Part 2
Using the same stamp set (First Sight - 2016 Occasions Catalogue) as yesterday, I decided to create a Card that could work for Valentines Day or an Anniversary, in Red, Black & White.
I love using the new Archival Basic Black ink pad. It stamps beautifully! Below you can see a closeup.
I love to create strips of text which you see using the word 'Love'. I masked the rest of the sentiment with tape, inked the exposed word 'Love', removed the tape from the sentiment, and stamped the word along the 3/8' strip. (or you could use your Stampin' Write Basic Black Marker on the word 'Love') Under the strip I used the white Uni-Ball Gel Pen to create the faux stitching line.
Next you can see the layering with the upper white and the red heart popped up with diemensionals.
On the inside I added another strip with the word 'love', and stamped a little pattern in the lower corners.
Hope you are inspired a little more with today's "First Sight" Sneak Peek. I'll be showing a few more, so be sure to check in for another peak. With the exception of the new stamp set, everything I used you will find below.
What creative ideas are you having about using this stamp set?
Happy Stamping!
Using the Hostess Code. If you are placing an order greater than $200, you will earn Stampin’ Rewards that you should redeem and enjoy. Yay! If your order is less than $200, though, I’d love for you to add this Hostess Code to your order:29RDQCHZ
Using the Hostess Code:
I love using the new Archival Basic Black ink pad. It stamps beautifully! Below you can see a closeup.
I love to create strips of text which you see using the word 'Love'. I masked the rest of the sentiment with tape, inked the exposed word 'Love', removed the tape from the sentiment, and stamped the word along the 3/8' strip. (or you could use your Stampin' Write Basic Black Marker on the word 'Love') Under the strip I used the white Uni-Ball Gel Pen to create the faux stitching line.
Next you can see the layering with the upper white and the red heart popped up with diemensionals.
On the inside I added another strip with the word 'love', and stamped a little pattern in the lower corners.
Hope you are inspired a little more with today's "First Sight" Sneak Peek. I'll be showing a few more, so be sure to check in for another peak. With the exception of the new stamp set, everything I used you will find below.
What creative ideas are you having about using this stamp set?
Happy Stamping!
Using the Hostess Code. If you are placing an order greater than $200, you will earn Stampin’ Rewards that you should redeem and enjoy. Yay! If your order is less than $200, though, I’d love for you to add this Hostess Code to your order:29RDQCHZ
Using the Hostess Code:
- Sign in to your online account and be sure you see me as your demonstrator in the top right corner
- Have fun while selecting your items
- Enter the Hostess Code before checkout (toward the left bottom of page) and click on apply.
Labels:
2016 Occasions Catalogue,
Anniversary,
First Sight,
Punches,
Valentines
Saturday, January 31, 2015
Easy, Shiny, & Glitzy Valentine
My last Valentine card for one more Grand-daughter. This one is very shiny with silver foil, and glitzy with Silver Glimmer hearts.
This is a little different form the traditional Valentine card, but very much suites the Grand-daughter that will receive this card. She takes after her Mom, one of my daughters.
For this very easy card I used Silver Foil cardstock as the card base, used silver metallic ink to second stamp the flower border, and mounted it onto Strawberry Slush cardstock with 1/4" border. I usually prefer 1/8" or 1/16" borders, but this card called for wider boarders.
You can see in this close up the layering. The Sweetheart heart has two layers of dimensionals, while the glitzy Itty Bitty hearts have only one layer, as does the Strawberry Slush piece on the Silver Foil card base.
Have you ever considered using foil cardstock as a card base? Try it! It's fun and makes a very unique card! You can see the product I used, below.
Thanks for stopping by today!
How to use the Hostess code (upper right corner of blog):
This is a little different form the traditional Valentine card, but very much suites the Grand-daughter that will receive this card. She takes after her Mom, one of my daughters.
For this very easy card I used Silver Foil cardstock as the card base, used silver metallic ink to second stamp the flower border, and mounted it onto Strawberry Slush cardstock with 1/4" border. I usually prefer 1/8" or 1/16" borders, but this card called for wider boarders.
You can see in this close up the layering. The Sweetheart heart has two layers of dimensionals, while the glitzy Itty Bitty hearts have only one layer, as does the Strawberry Slush piece on the Silver Foil card base.
Have you ever considered using foil cardstock as a card base? Try it! It's fun and makes a very unique card! You can see the product I used, below.
Thanks for stopping by today!
How to use the Hostess code (upper right corner of blog):
- when shopping online, enter your items into your cart (total must be under $200)
- at check out, look under "Special Offers" (bottom left)
- enter the Hostess Code in the box and click on apply
Labels:
Card,
Punches,
Valentines
Wednesday, January 28, 2015
Tall & Skinny, Girly & Bright Valentine
ink pads, stamps and sponge.
If you'd like to do something similar or copy this card, here are some helps.
Strawberry Slush - 9 1/4" x 8"
With 8" across top of your score board, score @ 4"
Whisper White - 8 7/8" x 3 5/8"
With a sponge blend together Calypso Coral, Strawberry Slush, and Crushed Curry, covering the entire piece.
Strawberry Slush - 2" x 8"
Punch each end with your favorite tag Topper Punch
Whisper White - 2" x 7 3/4"
Punch each end with your favorite tag Topper Punch and then trim 1/16" off each side and with your scissors round the corners.
Stamp and mask your choice of stamps, in the same ink colours, all over the strip. Attach to the Strawberry Slush strip and feed ribbon through the slots and tie with string.
Whisper White - Stamp your sentiment or image and punch or die cut out.
In this next photo you see a close up of the sentiment.
And next, you see how the layers of the card were done.
Hope this has given you some inspiration to play with your inks too! What colour combination would you use? You can see what I used, below.
Thanks for stopping by to have a peek. Happy stamping!
How to use the Hostess code (upper right corner of blog):
- when shopping online, enter your items into your cart (total must be under $200)
- at check out, look under "Special Offers" (bottom left)
- enter the Hostess Code in the box and click on apply
Labels:
Card,
Punches,
Valentines
Monday, January 26, 2015
All Abloom Valentine & Freshly Made Sketch Challenge
I can't believe it's been nearly a week since I posted on my Stampin' Up blog! I've had a very interesting week which, unfortunately, kept me quite busy. This morning I realized I had to complete those Valentine cards for the rest of my Grandchildren, so I will post a few more over the next few days.
For this one I decided to use a challenge to create the card with. I chose Freshly Made Sketches with the current challenge #170.
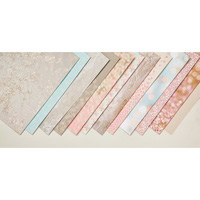
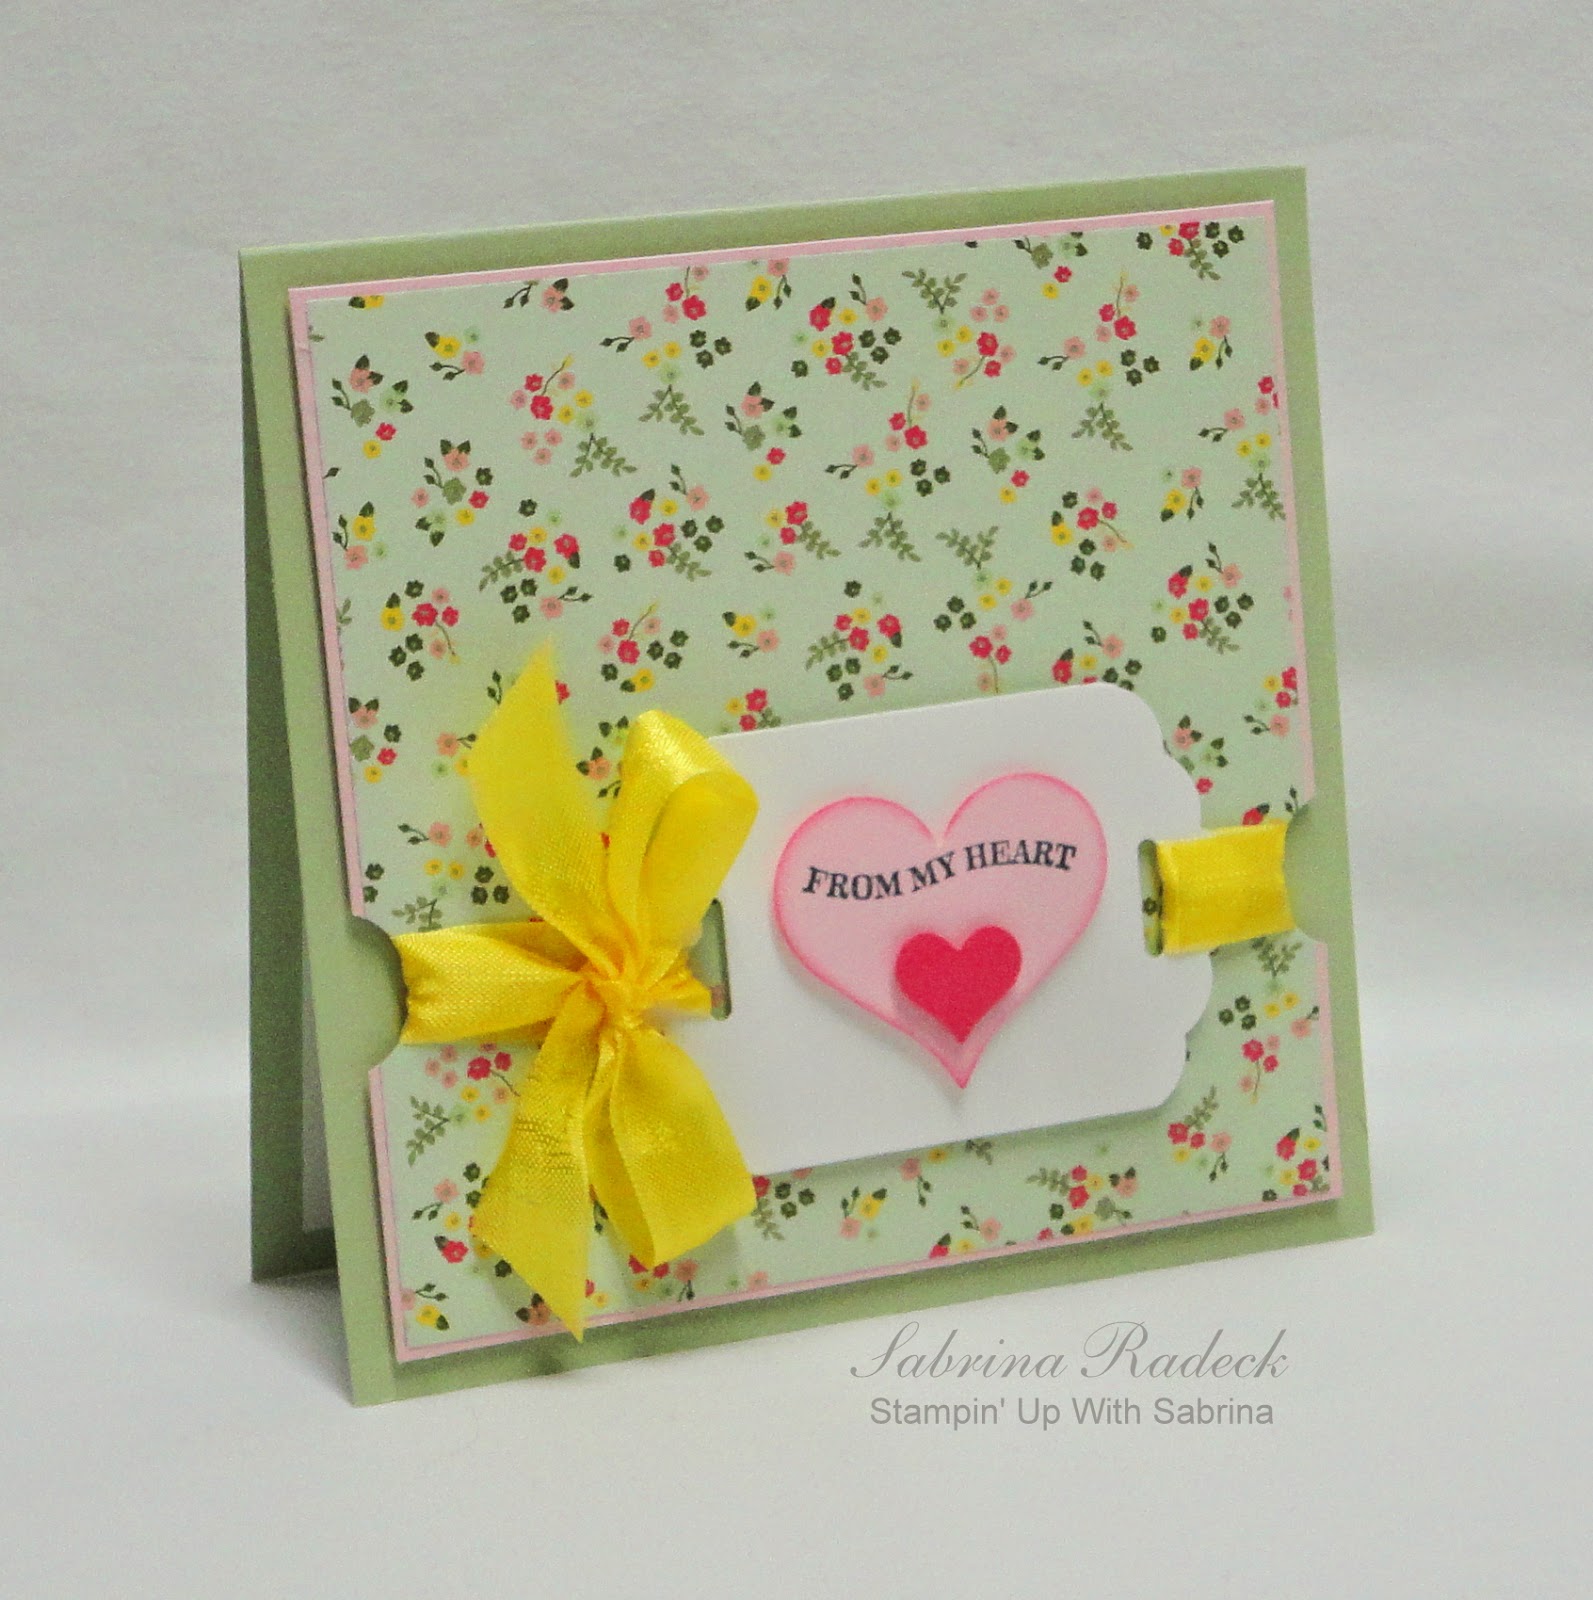
This is a nontraditional Valentine card using the "All Abloom Designer Series Paper Stack" and the sketch from FMS to the left.
The yellow ribbon came out a bit brighter in the photo than it really is in real. This is a very quick card to make, and to add a little something different I decided to punch a half circle where the ribbon would wrap around feeding from the right end of the tag topper , around the back, and up through the left end of the tag topper. You use a bit more ribbon, but it is a different look.
In this next photo you can see a little better the layering of the card.
If you'd like to make this card yourself, following are the measurements, and below are the product used.
Pistachio Pudding - cut 1 @ 5 x 10 & score with 10" at the top @ 5"
Pink Pirouette (Blushing Bride would be better) - cut 1 @ 4 5/8" sq
All Abloom - 1 @ 4 1/2" sq
Whisper White - 1 @ 2" x 3 1/4" and use a Tag Topper Punch at each end
Punch out a "Sweetheart" heart and a "Itty Bitty" heart.
1/2" ribbon @ 24"
Punch a 3/4" circle about 3" up from the bottom on each side of the pink & All Abloom layer.
Thank you for stopping by today to have a look at my latest Valentine card.
Happy Stamping!
Looks like I missed entering by one minute or less. Oh well maybe next time.
How to use the Hostess code (upper right corner of blog):
- when shopping online, enter your items into your cart (total must be under $200)
- at check out, look under "Special Offers" (bottom left)
- enter the Hostess Code in the box and click on apply
Labels:
Card,
Challenge,
Punches,
Valentines